Related projects
Infrastructure
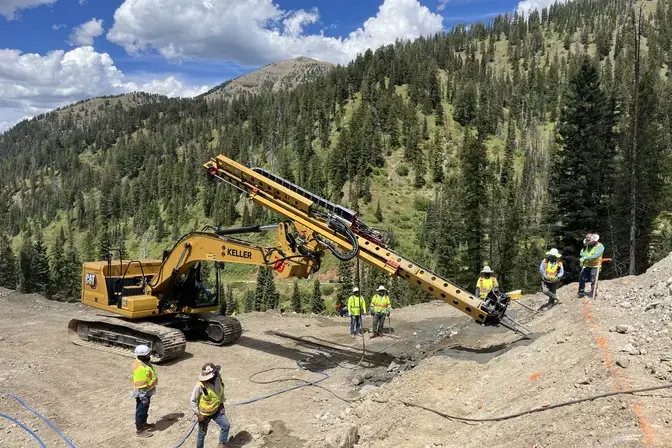
Teton Pass: The Big Fill Slide
Keller provides rapid design and mobilization to perform slope stabilization following a major landslide along Teton Pass.
Commercial
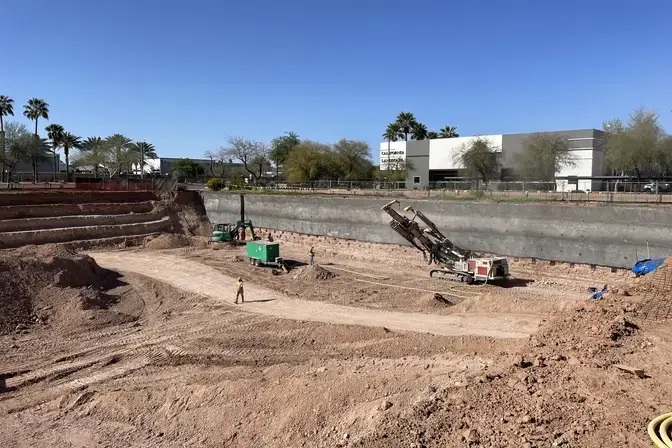
Stellar Airpark Storage
Keller provided complete design and construction for a soil nail support system at Stellar Airpark Storage.
Commercial
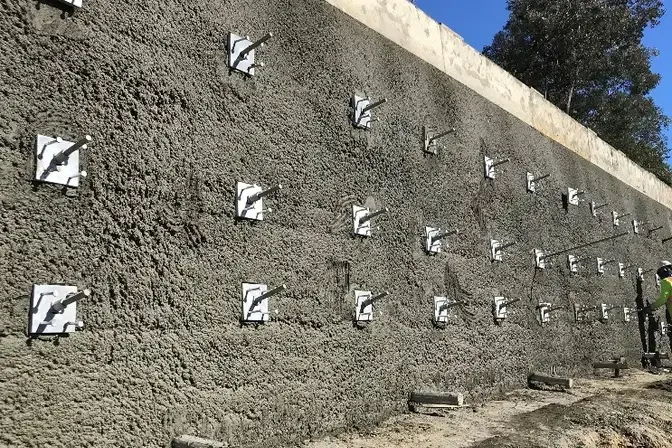
Lowe’s of Temecula
Keller installs soil nails to remediate a failing retaining wall protecting a popular home improvement store.
Institutional
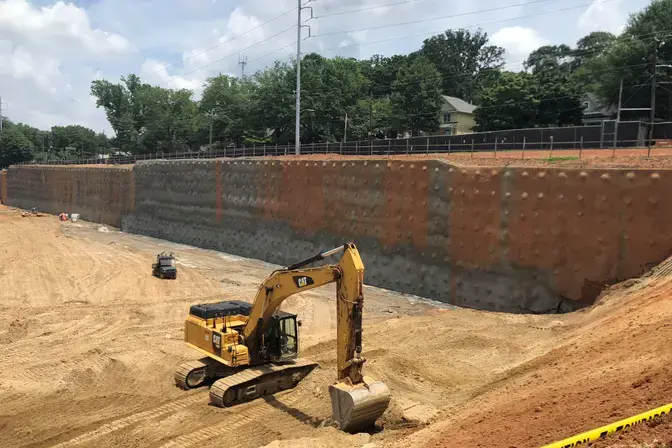
Zoo Atlanta - Grand New View
Zoo Atlanta first opened in 1889 and has undergone several renovations. Keller provided support of excavation as part of the zoo’s newest renovation, the “Grand New View”.
Infrastructure
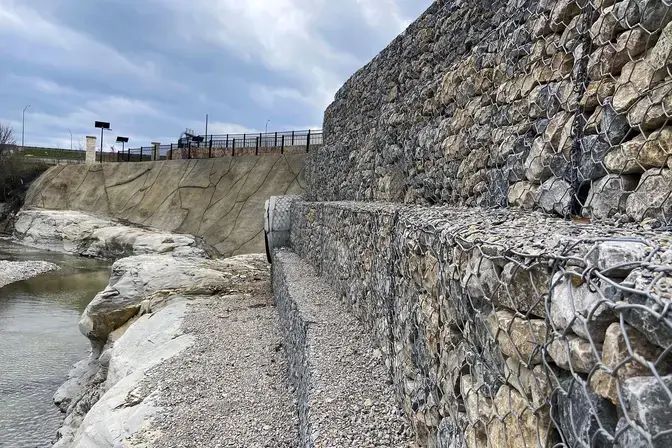
Rowlett Greenbelt Trail
Adopted in 2001, the Six Cities Trail Plan proposed the construction of several hike and bike trails to form an inter-jurisdictional ‘spine system’ of recreational trails between the Texas cities of Allen, Frisco, Garland, McKinney, Plano, and Richardson. The longest is the 24-mile Rowlett Greenbelt Trail corridor, connecting all six cities.